So you want to improve your business legitimacy? Purchasing a custom domain email address to go with your domain hosting is a great idea! Think back to businesses you have dealt with that are using Gmail or Hotmail - it really doesn't make you 100% confident that the company you are dealing with is professional, does it? And the sad part is that they probably are completely professional, but it's little things like this that hold customers back!
Custom domain emails are reasonably priced and Google Apps makes it super easy to set up your custom email address. Your inbox looks the same as a Gmail inbox, so it's something that you are most likely familiar with and it also offers heaps of other 'labs' which are like plugins or apps that can help conduct business smoothly!
So let's get started!
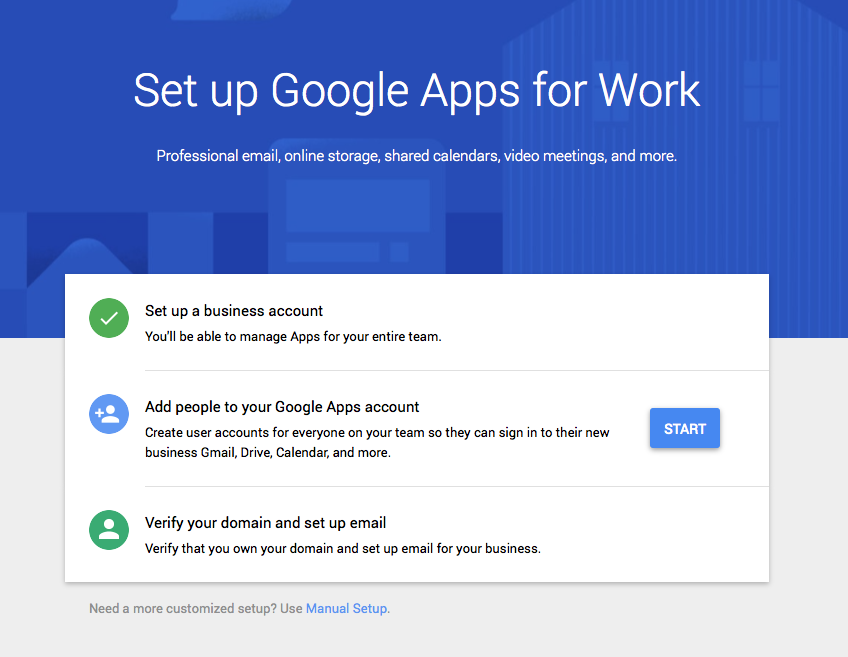
Head over to Google Apps and once you have signed up, you will see this page. In small type at the bottom, you will see 'Need a more customised setup? Use Manual Setup' - click on this.
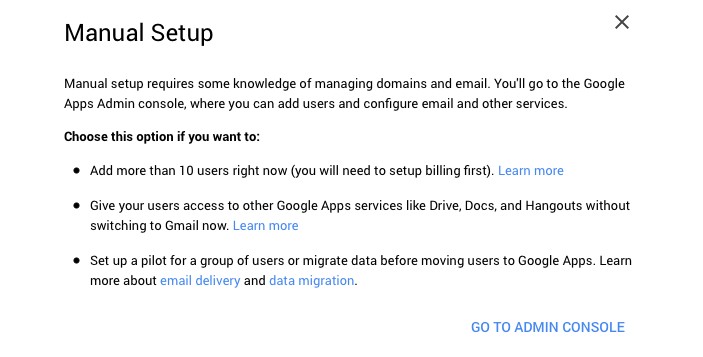
A popup will appear and you will need to click on GO TO ADMIN CONSOLE.
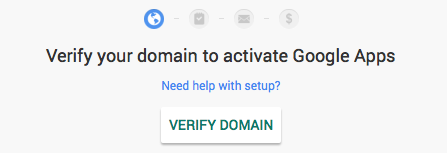
You will be taken to the Admin Console and there may be something that appears asking you to start setup. Click on this and the verify domain alert will appear. Click on VERIFY DOMAIN and you will be taken to a new page. Accept the getting started popup as this page opens.
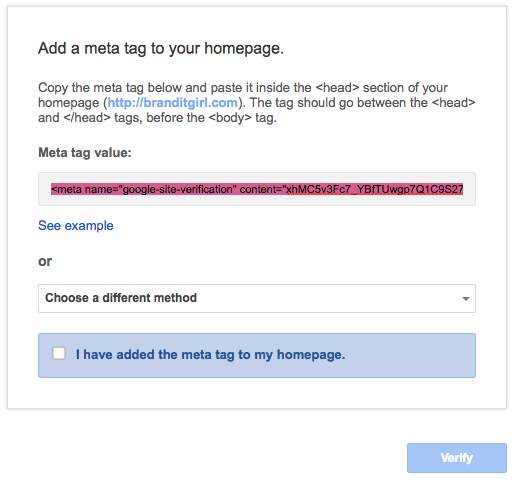
Google Apps will ask you to verify ownership of the domain name by placing a piece of code in the header of your website. This is easy to do! Simply copy the code in the Meta tag value field and open your Wordpress dashboard.
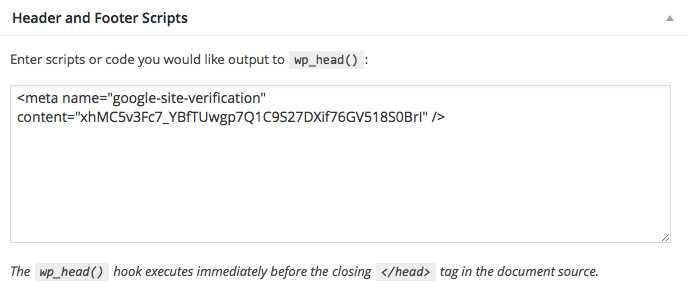
On the left hand side of your Wordpress dashboard you will see 'Genesis' > 'Theme Settings'. Click on this and scroll to the bottom, locating the Header and Footer Scripts area. Paste the code that Google Apps gave you in the header area and press save.
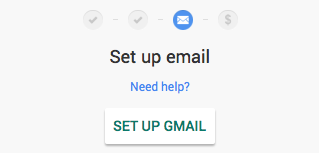
Return back to Google Apps and check the 'I have added the meta tag to my homepage' box before hitting Verify. A popup will appear to let you know your domain has been verified. Press Continue Setup. Click through the Adding Team Members to Set Up Gmail and click on the button.
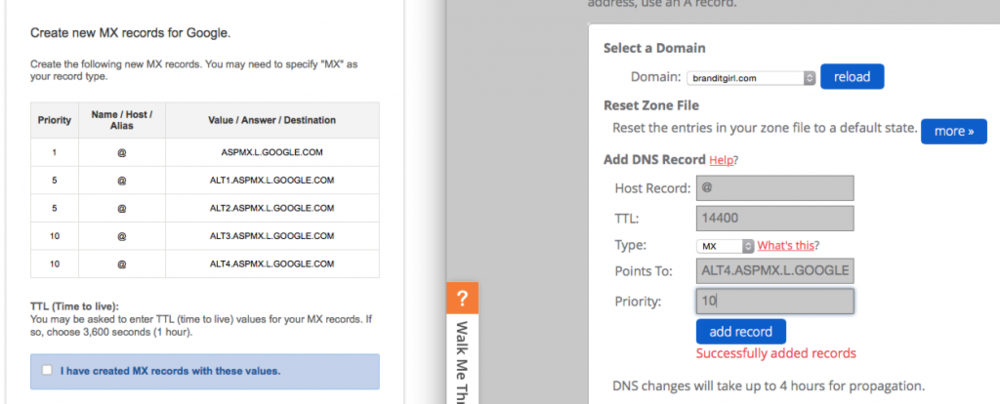
You will be taken to a new screen that will ask you to login to your hosting account. In my case, it's Justhost.com. Follow the set up prompts. It will be different for everyone depending on the way your hosting is set up. For Justhost.com it is located in the mail panel, under the MX Entry button. It will ask you to delete any existing MX records and will prompt you to create new ones. Follow the instructions that Google Apps give you, they do a great job at making it easy for you!
Hit Verify. Your email is now set up. You can set up billing straight away or take advantage of the 30 day free trial.
That's it! It's all done and your legitimacy as a serious blogger and business owner just increased and it was easy, wasn't it!
What would you like to do next? Let me know!